Beaver Builder Basics
Beaver Builder is a front-end page builder tool. What this means is when you are editing your content, you are seeing it as how it would display to an end user.
The structure of every page is built up of:
- Rows
- Columns
- Modules
- Columns
How Beaver Builder is used on CT NOFA
- Pages use the builder tool
- Posts & Products use the Themer templates, with the standard WordPress WYSIWYG to edit
Working with a Beaver Built Page
First, navigate to the Page you want to Edit
Then choose Beaver Builder from the top WordPress Admin bar
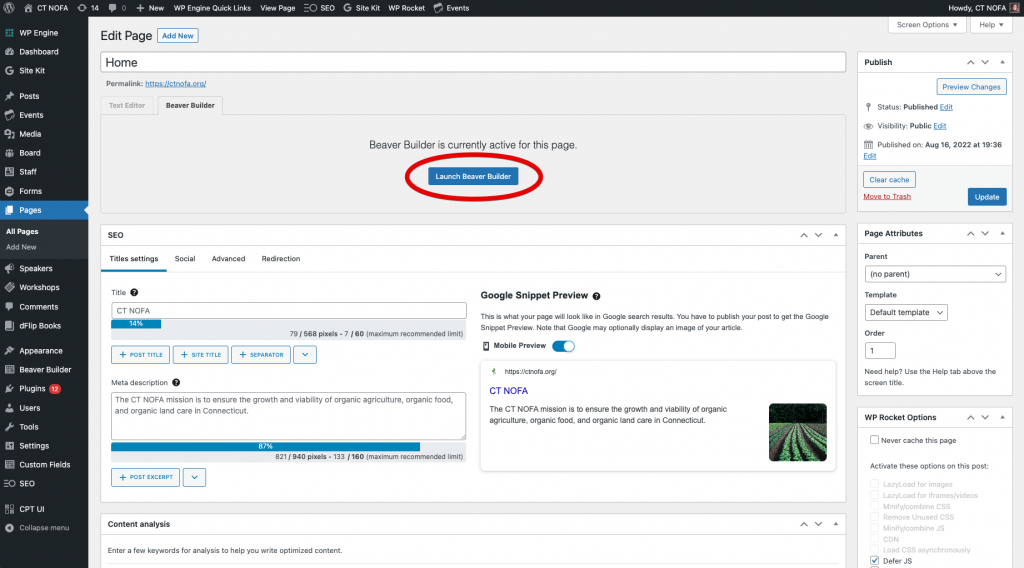
If you are on the backend (the Dashboard) you will see a view like the one below. From here click the Launch Beaver Builder button to be brought to the front-end editor.
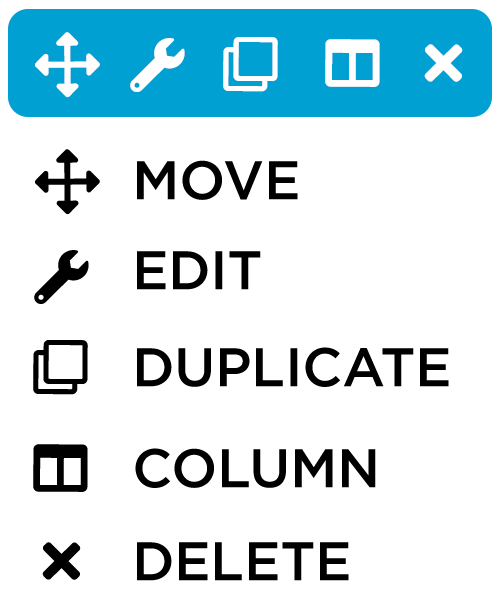
Now you will see the Editor view. As you hover over elements on the page, the editor frame will appear over each element. You can then use the tools for each to move, edit, duplicate, modify the column settings or delete.

Adding Items to the Page
Click the blue + symbol in the upper right corner. A menu panel will unfold and you will have a few choices from here.

Modules
The items you will likely use the most are:
- Text
- Heading
- Button
- Photo
- Video
Rows
This is a series of column options. When you pull out a column set, you can still edit it further to make it any percentage of balance between the columns.
Templates
This is where our page templates are saved.
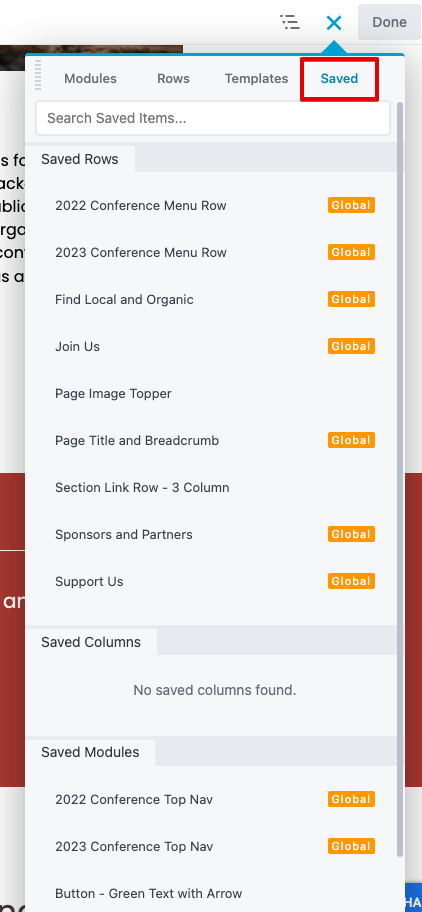
Saved Items
Each of these areas has a drop down below it where you can choose from the different options, as well as Saved options. The Saved Modules and Rows is where we save the site themed options to reuse.
Finishing and Saving
When you are done editing the Page, make sure to go up to the DONE button in the upper right corner. Click Done and then click Publish. Beaver Builder does offer a unique option, which is you can Save Draft. The new changes will not be shown until you Publish the page. It’s a great way to test out changes, before fully committing.
A Good Review of the Beaver Builder System